ClickHouse
Run ClickHouse on dFlow for analytics: CLICKHOUSE reference variables, connection fields, and multi-port Expose.
Written By Charan
Last updated 28 days ago
ClickHouse is optimised for analytical workloads: large tables, aggregations, and reporting-style queries (OLAP). For normal transactional application data (users, permissions, checkout), Postgres or MySQL is usually simpler to operate.
General database workflow: Databases overview.
When to choose ClickHouse
Choose ClickHouse when you need fast scans and aggregates over large datasets—event pipelines, dashboards, log-style analytics. Avoid it as your only database for classic CRUD unless you have a deliberate architecture.
Create and deploy
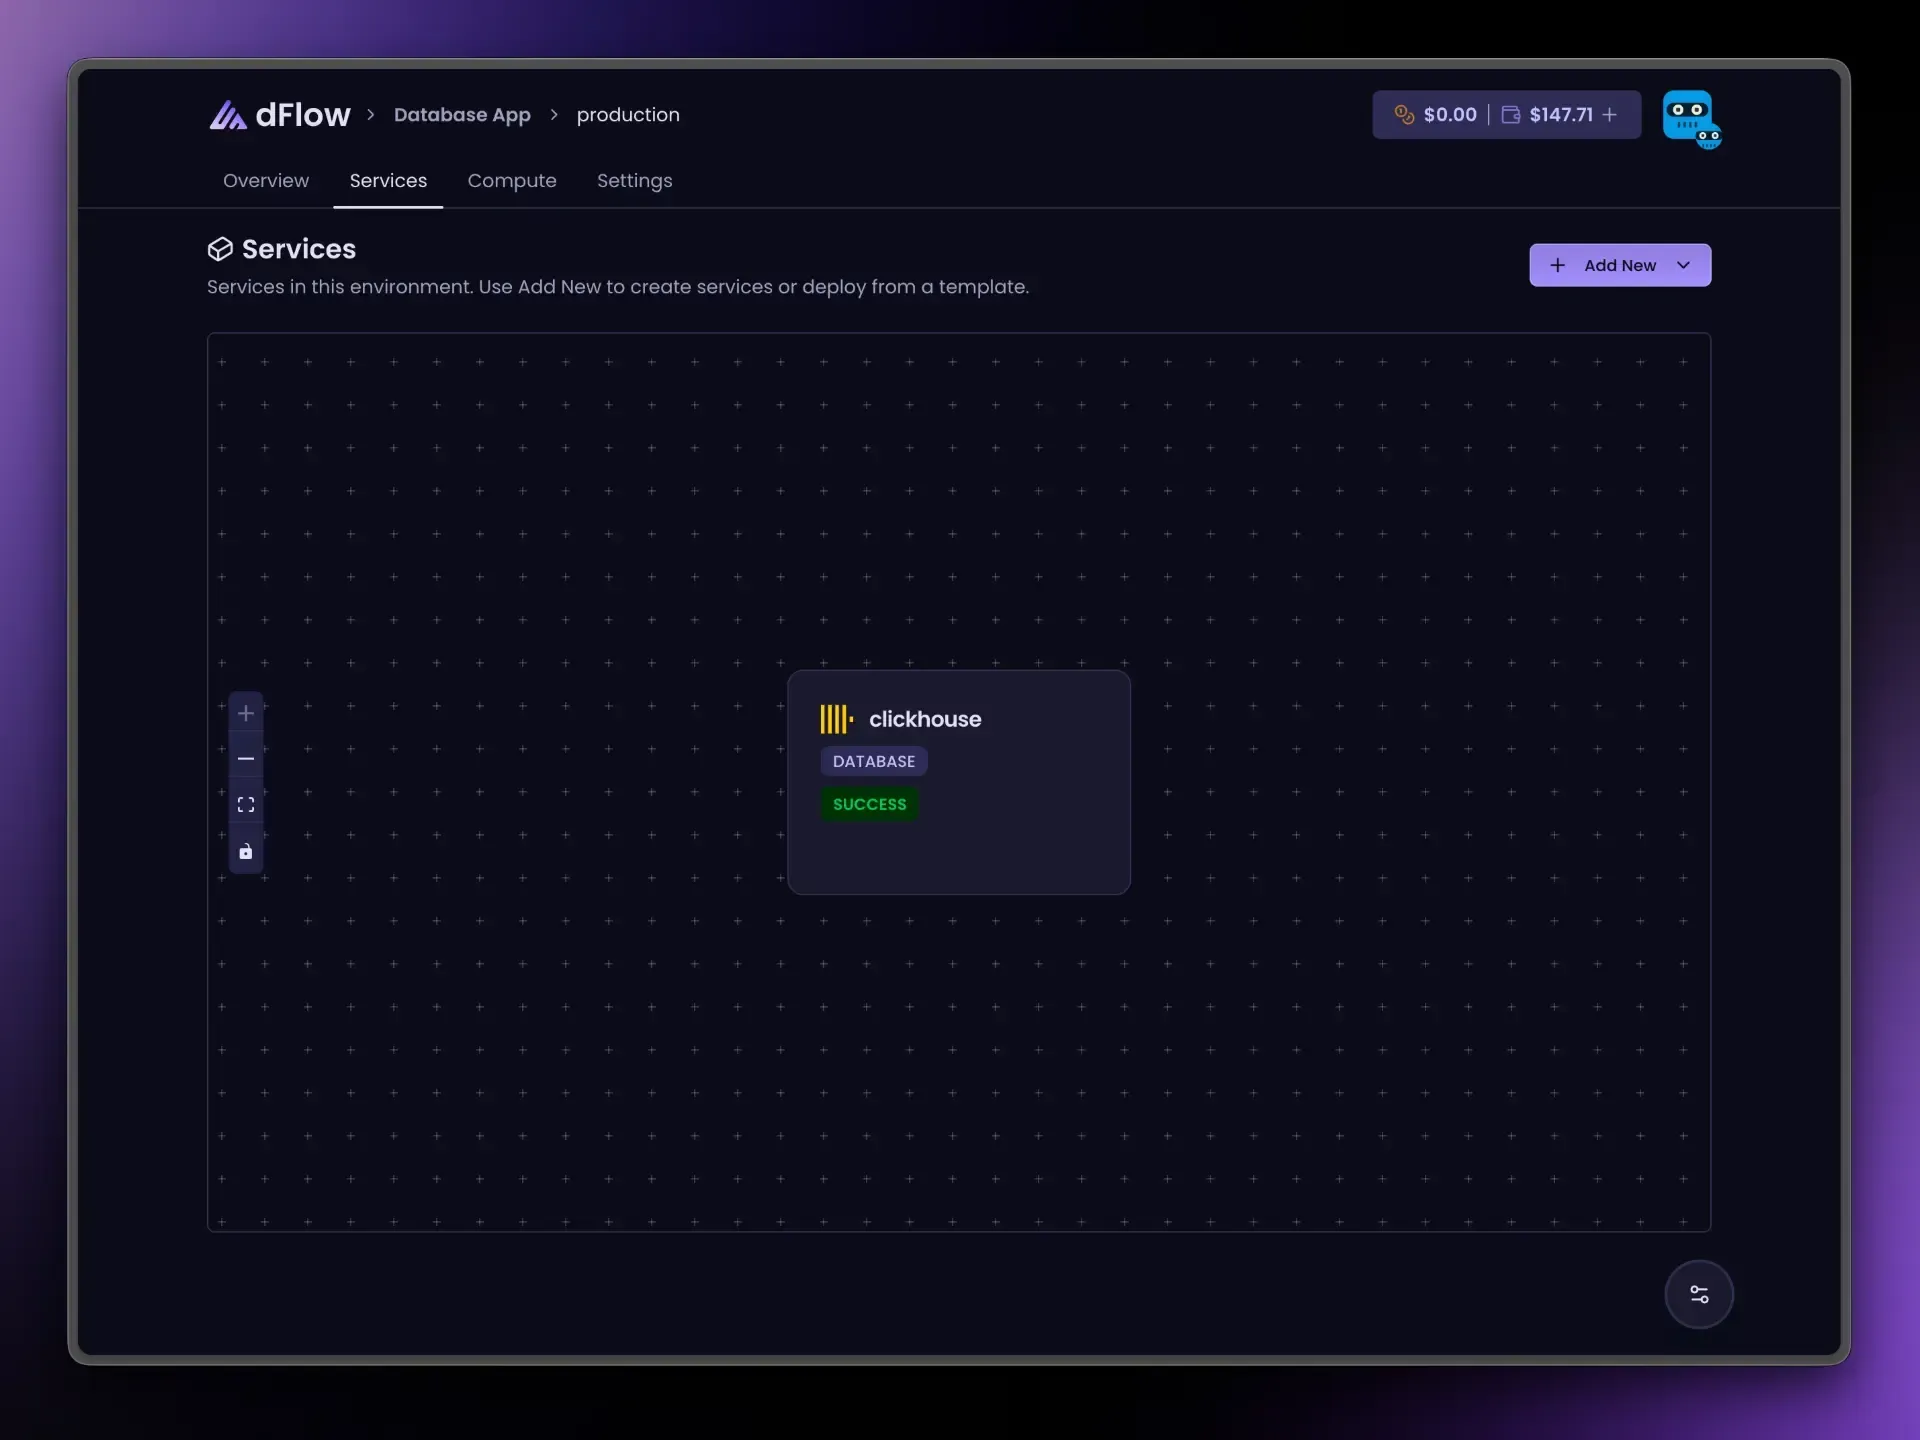
Applications → Environment → Add New → Add service → Database → ClickHouse.
Create Service → Deploy.
Wait for success.
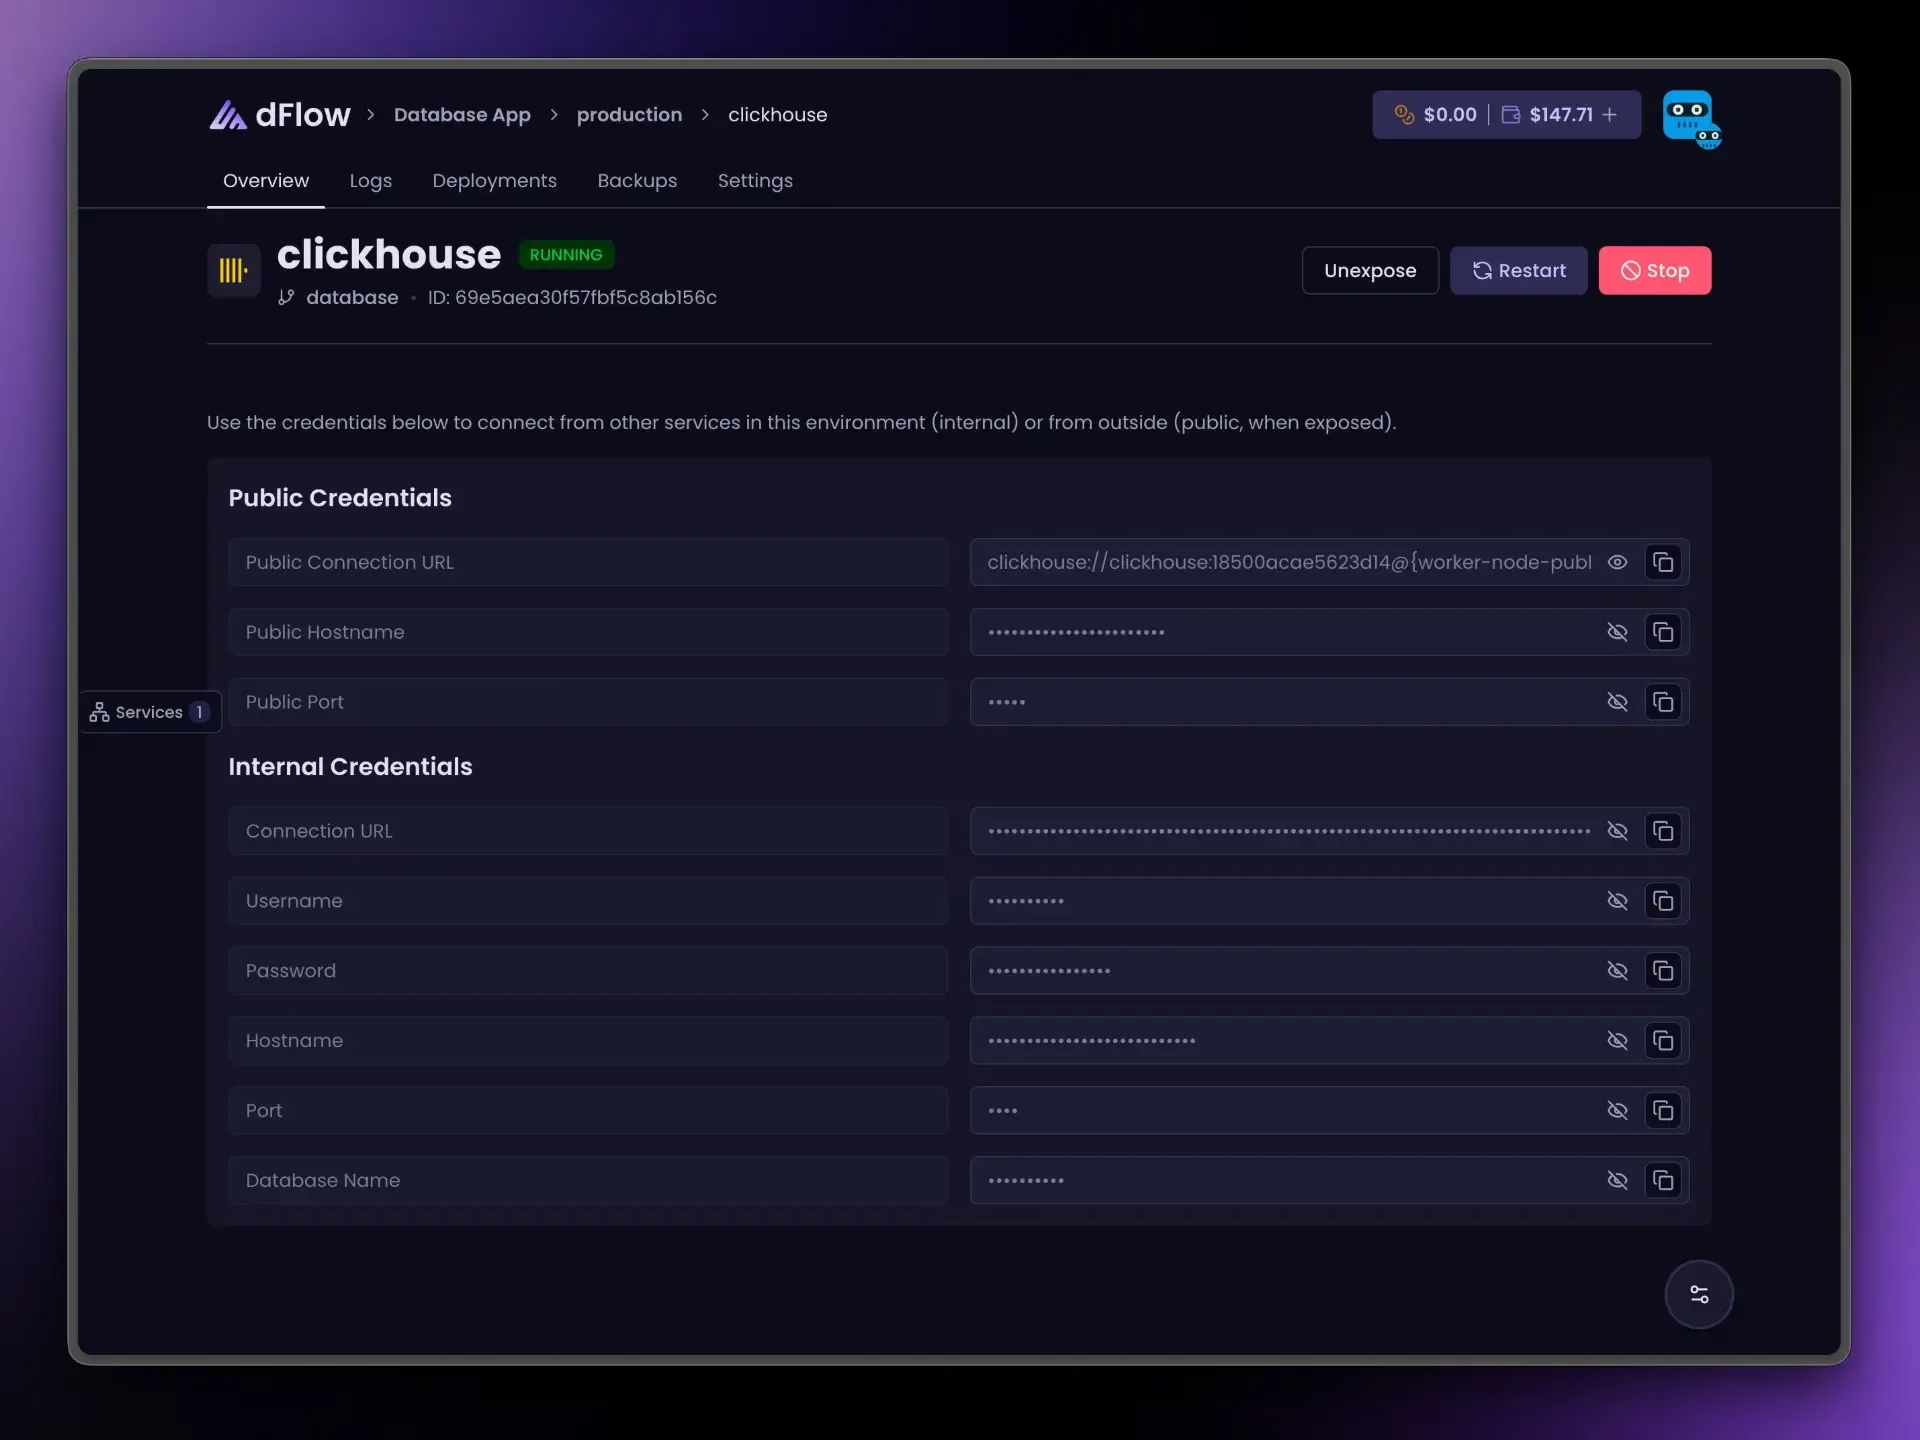
The connection URL may use a clickhouse:// style when the platform provides it; username and password appear when they are part of that connection string.
Connection details on Overview
After deploy, Internal credentials can include:
Connection URL
Username and password (when present)
Hostname and port
Database name when encoded in the URL
Use these for apps, workers, or ETL in the same environment. Public fields appear after Expose.
Link your app: reference variables
Variables → { } menu:
{{ my-analytics.CLICKHOUSE_URI }} Internet access (Expose)
Like MongoDB, ClickHouse may require more than one public port when exposed. You still use one Expose action; Overview explains how to connect via dFlow’s database gateway or your server’s public address.
For heavy query traffic, internal connections from co-located services usually perform better than routing through the public path.
Unexpose before Stop if exposed.
Day-to-day actions
Restart, Stop, Expose, and Unexpose behave like other databases; Deploy only appears until the first successful provision. See Databases overview.