Create a database service
Step-by-step: add a managed database to an environment, deploy it, verify credentials, and connect an app using reference variables.
Written By Charan
Last updated 28 days ago
This guide walks you from an empty environment to a running database with a verified connection string and an app reading it through a reference variable. For background on how database services fit into dFlow, read Databases overview first.
Time and prerequisites
You need an application and an environment with working compute (a linked server or managed worker, depending on your setup).
You need permission to create services and deploy in that workspace.
Outcome: a database service in success state with Internal credentials on Overview, and one environment variable on an app pointing at it without pasting the password.
Step 1: Open the right environment
In the dashboard, go to Applications.
Click the application that should own this database.
Open the environment where the database will run.
Pick the same environment as the app that will query the database unless you intentionally split tiers across environments.
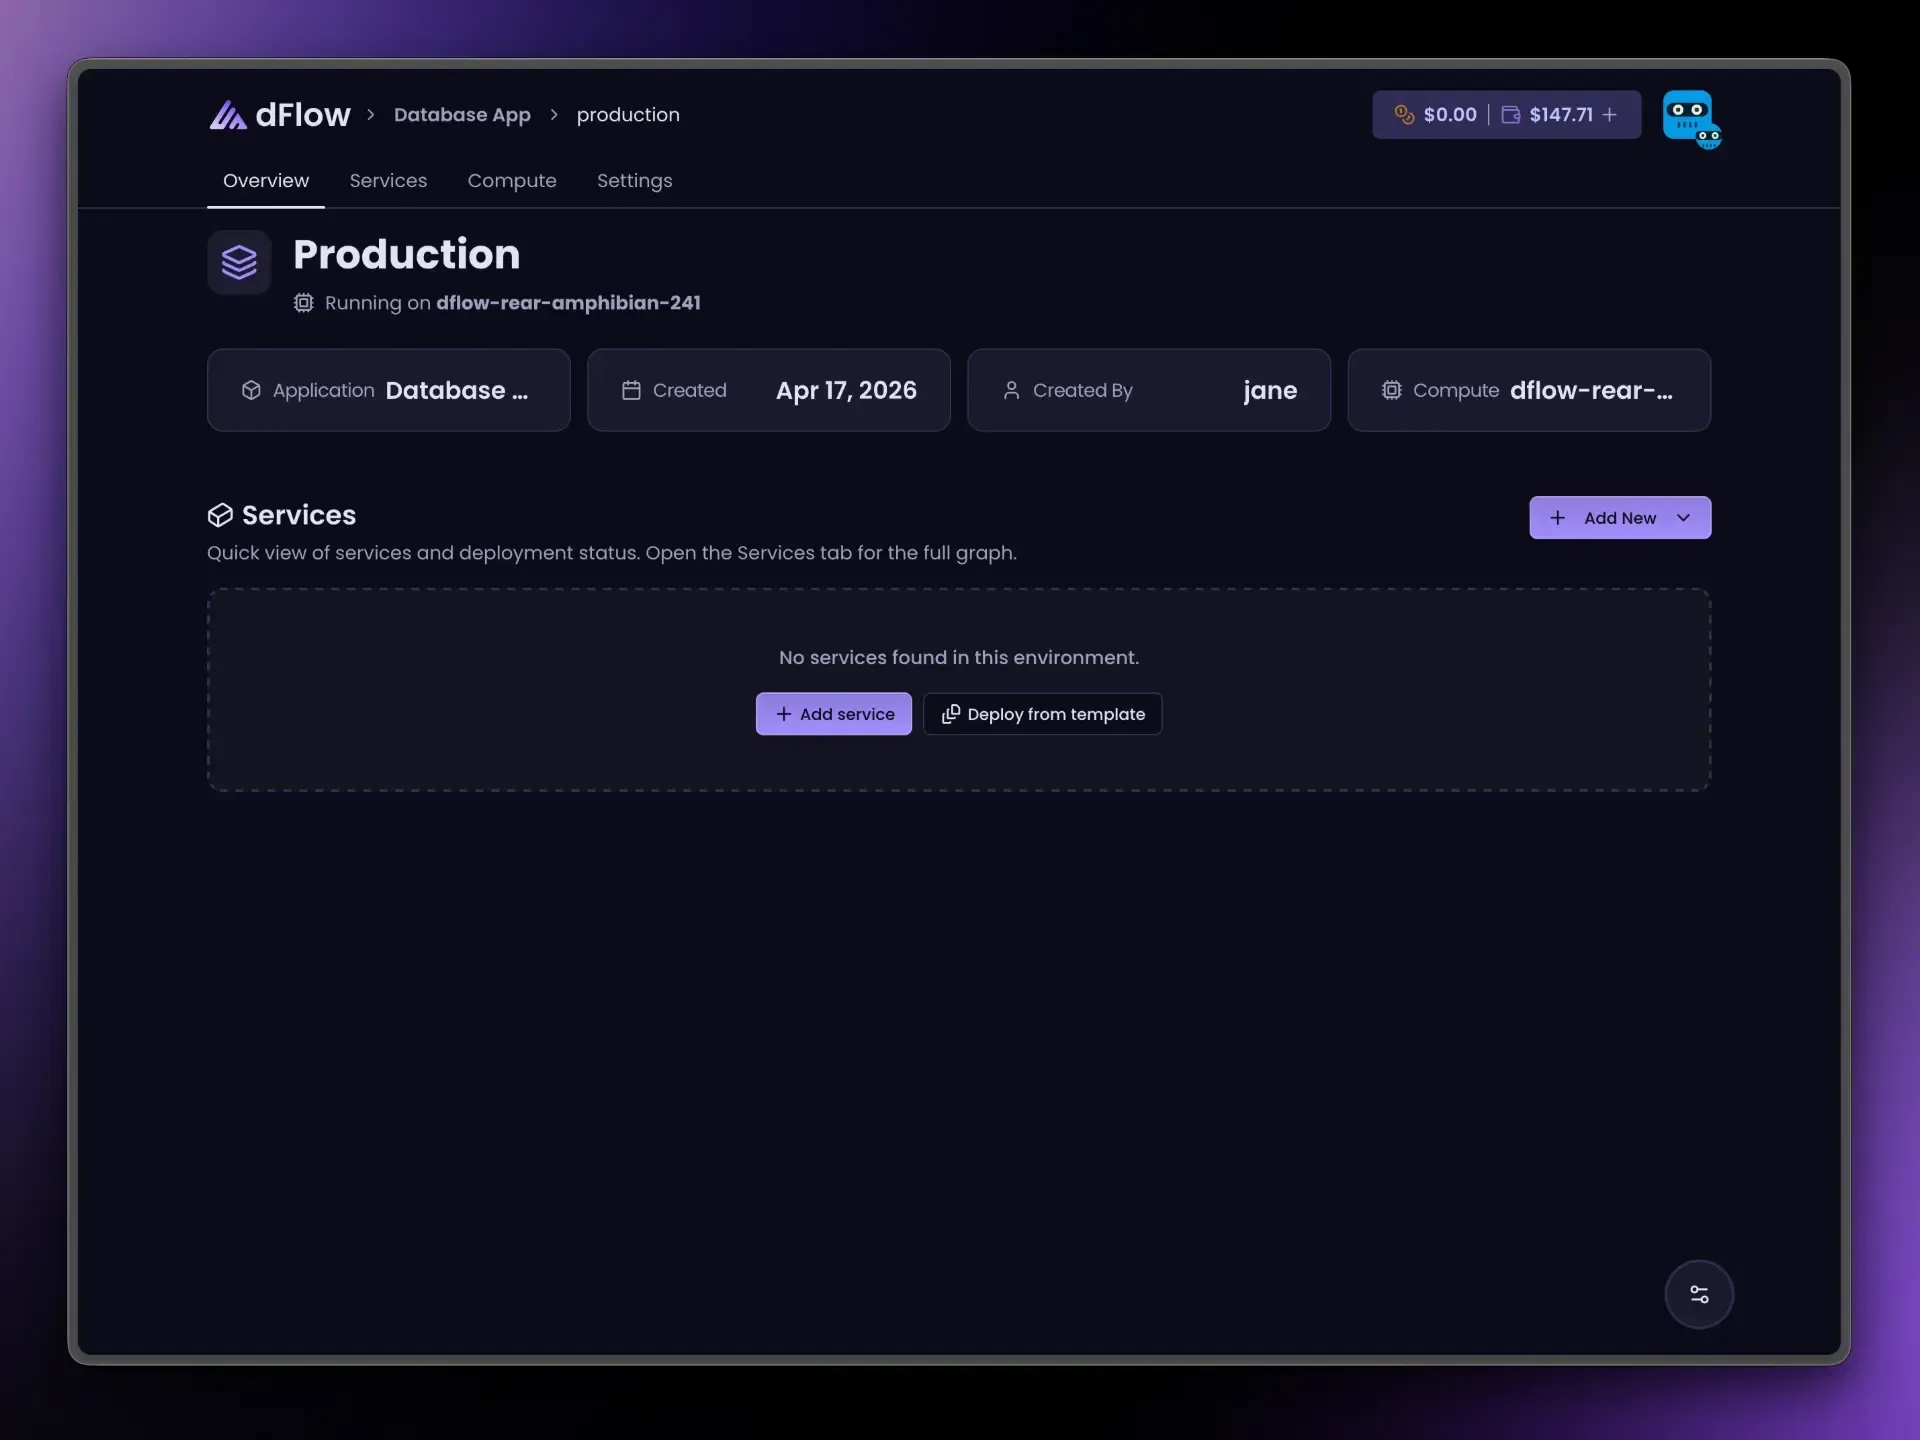
Step 2: Start Add service
In that environment, click Add New.
Choose Add service.
You use the same flow for app services, Docker services, and databases.
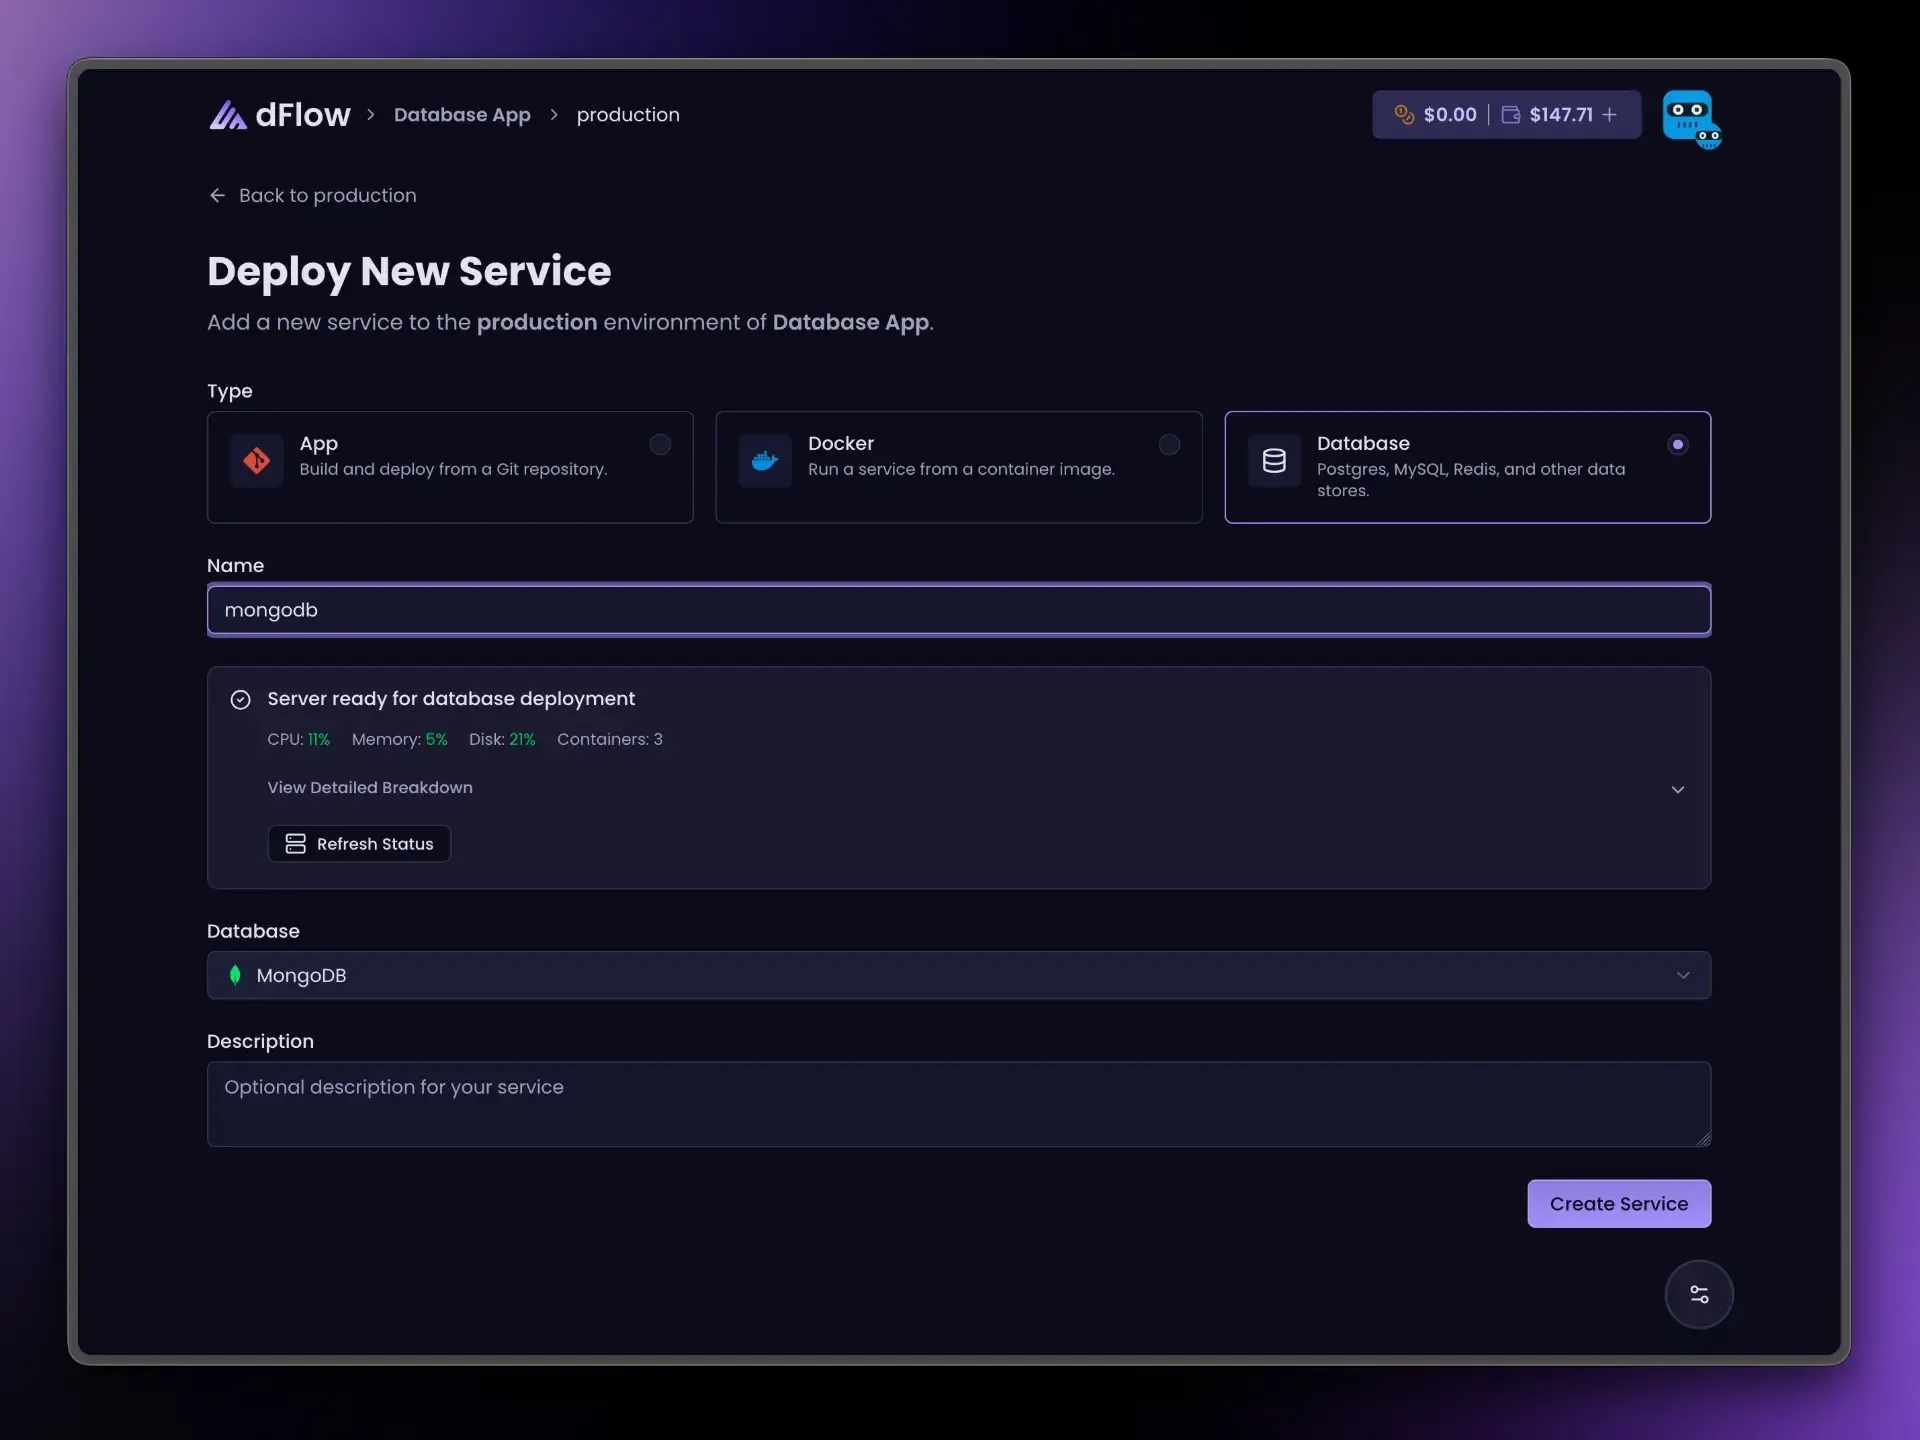
Step 3: Choose Database and an engine
Select Database.
Pick an engine (for example Postgres, MySQL, MongoDB).
If you are unsure which engine to use, see the comparison table in Databases overview.
Step 4: Name the service and create it
Enter a service name you will recognize later. This name appears in reference variables (for example
{{ orders-db.POSTGRES_URI }}), so avoid spaces if you want fewer surprises in env files.Click Create Service.
At this point dFlow has stored the service definition. The database is not necessarily running on the server yet.
Step 5: Deploy
Open the new service from the environment’s service list.
Stay on Overview.
Click Deploy and wait until the deployment finishes with success.
Watch Deployments or Logs if the run fails or stays pending; copy error text if you need to open a support ticket or read Database troubleshooting.
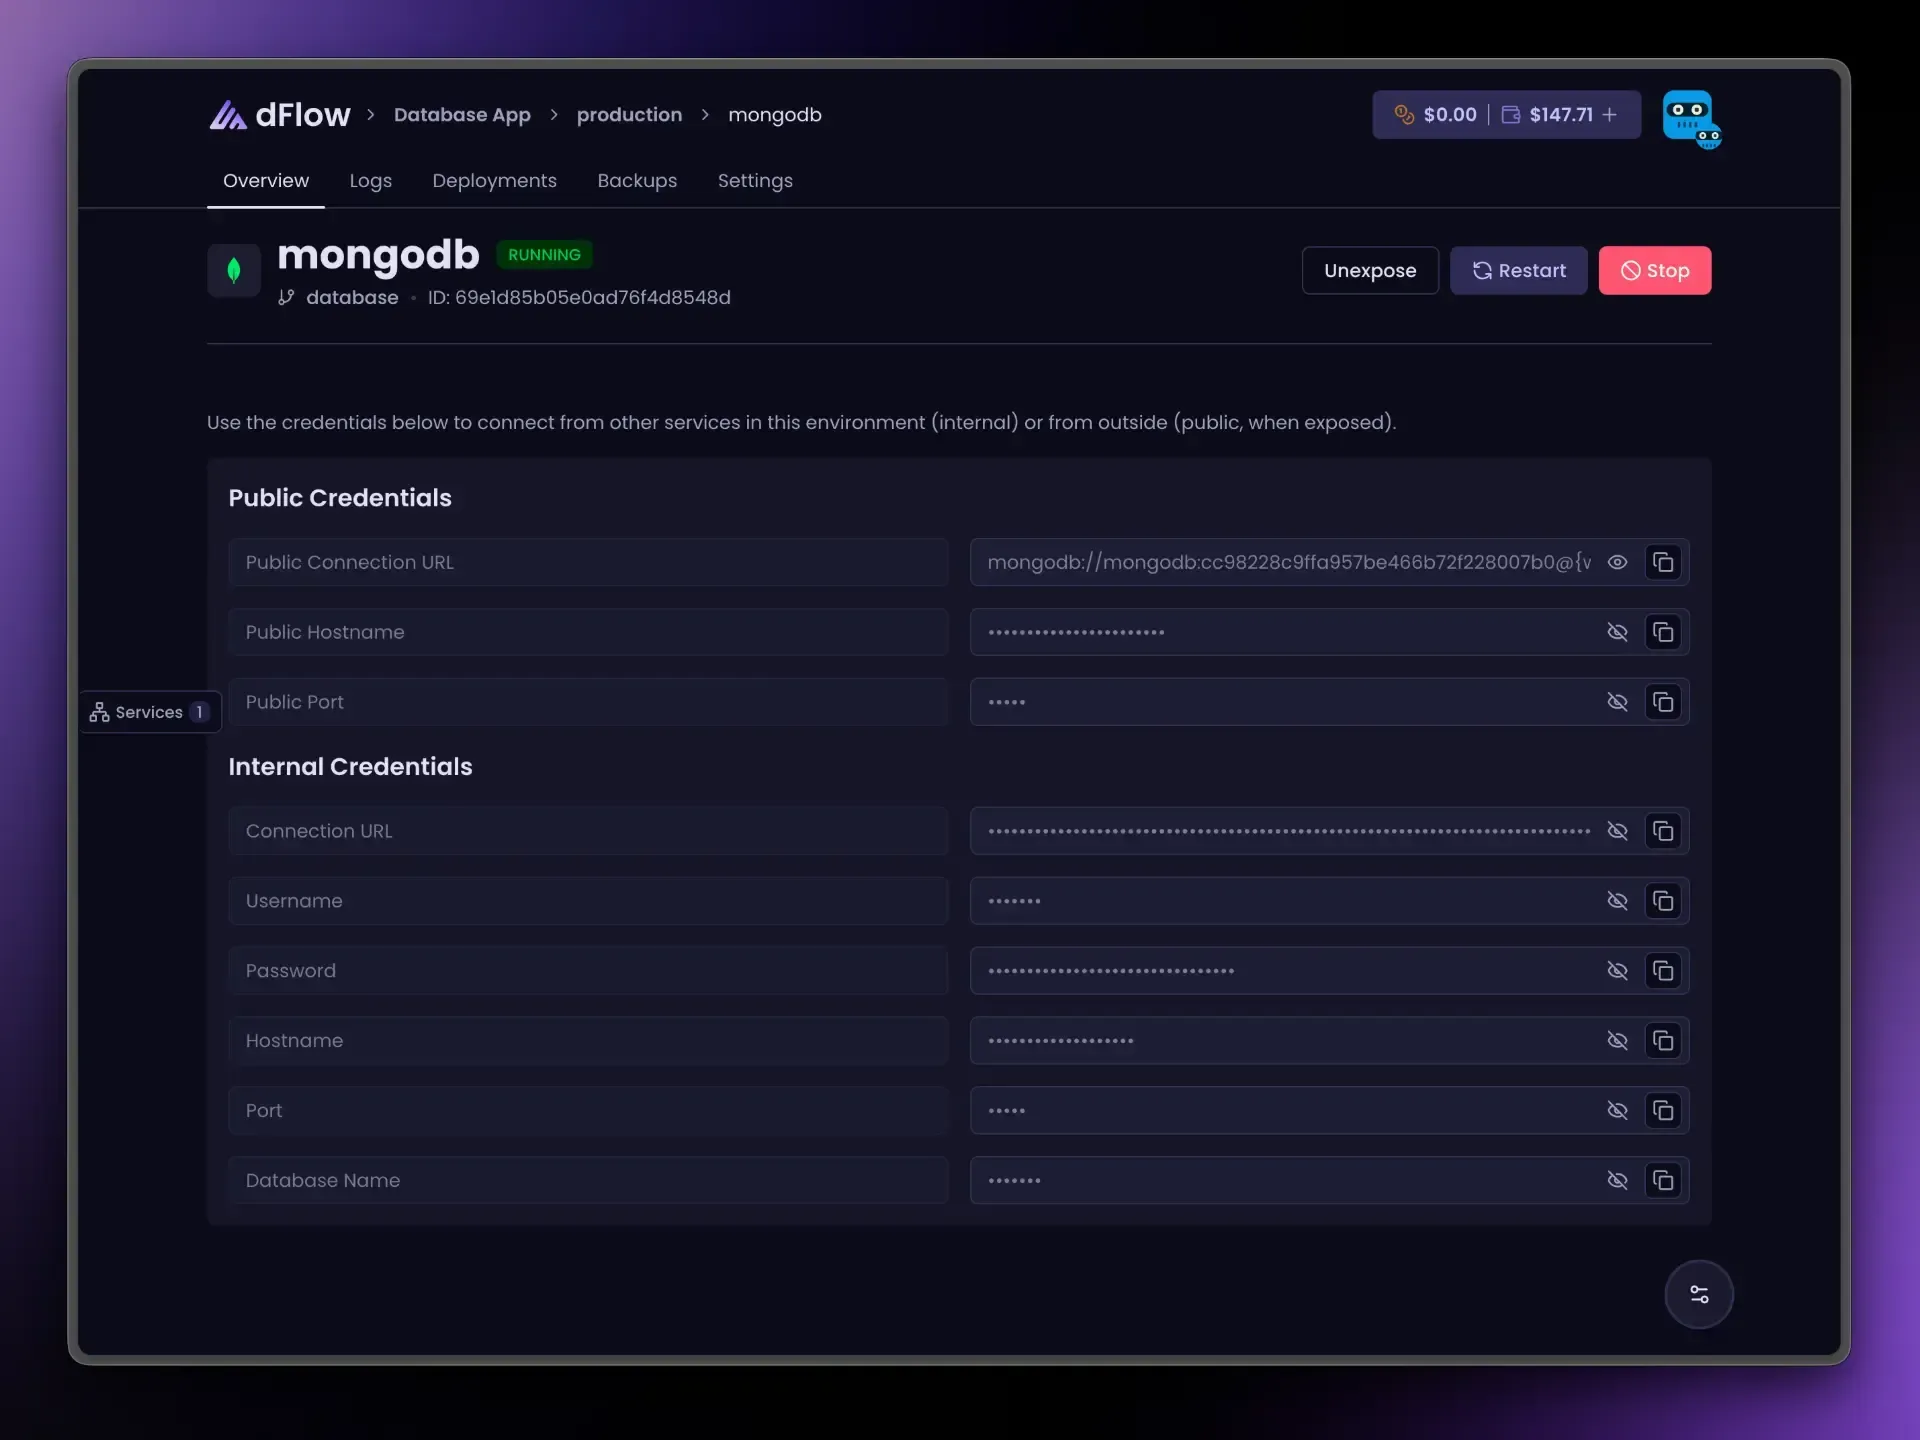
When deploy succeeds, Internal credentials fill in: connection URL, host, port, user, password, and database name (depending on engine).
Step 6: Verify credentials
On Overview:
Confirm the status shows the database as running (wording depends on engine and UI version).
Copy the internal connection URL only if you need it for a one-off test. For ongoing use, prefer reference variables in the next step.
Do not share these credentials in public channels; treat them like production secrets.
Step 7: Connect an app with a reference variable
Open the app or Docker service that should use the database (in the same environment).
Open the Variables tab (sometimes labeled with Environment in the URL).
Add or edit a variable (for example
DATABASE_URL).Click the
{ }control next to the value field.Choose your database service and the internal URI field (for Postgres,
…POSTGRES_URI).
The value should look like:
{{ your-db-name.POSTGRES_URI }} Replace your-db-name with the exact service name and use the suffix from your engine’s guide (PostgreSQL, MySQL, and so on).
Redeploy or restart the app service if your stack requires it for new variables to apply.
Step 8 (optional): Expose for external tools
Only if something outside dFlow must connect:
On the database Overview, click Expose and wait until it completes.
Use Public credentials (or
_PUBLIC_*reference variables) from the same page.
When you no longer need public access, Unexpose before Stop. Details: Database credentials and connections.
Next steps
Turn on Backups before major migrations: Backups and restore.
Hosting a database outside dFlow (RDS, managed cloud, and so on): External database notes.