Create your account and workspace
Sign up for dFlow Cloud, verify email, and reach your dashboard at app.dflow.sh.
Written By Zoro
Last updated 28 days ago
These steps are for dFlow Cloud at app.dflow.sh.
Self-hosted operators should open Quick start for Self-Hosted dFlow instead.
Prerequisites
An email address you can access for verification.
Agreement to create an Organisation (workspace) governed by dFlow Cloud terms.
1. Sign up
Open app.dflow.sh.
Click Sign up.
Enter your email and password.
Complete account creation.
2. Verify your email
Open the verification link in the message dFlow sends.
You cannot sign in until the address is verified.
If nothing arrives within a few minutes, check spam or promotions folders.
3. Sign in
Go back to app.dflow.sh.
Enter your email and password.
Sign in.
4. Accept terms
On first login, read and accept the Terms and Conditions (or equivalent legal prompts). You cannot continue without accepting them.
5. Optional: connect Discord
During onboarding you can link Discord for community questions and support. You can also connect it later from account settings.
6. Open the dashboard
Use the in-app navigation (for example Create Apps or the main dashboard entry point) to reach your workspace. UI labels may vary slightly by release.
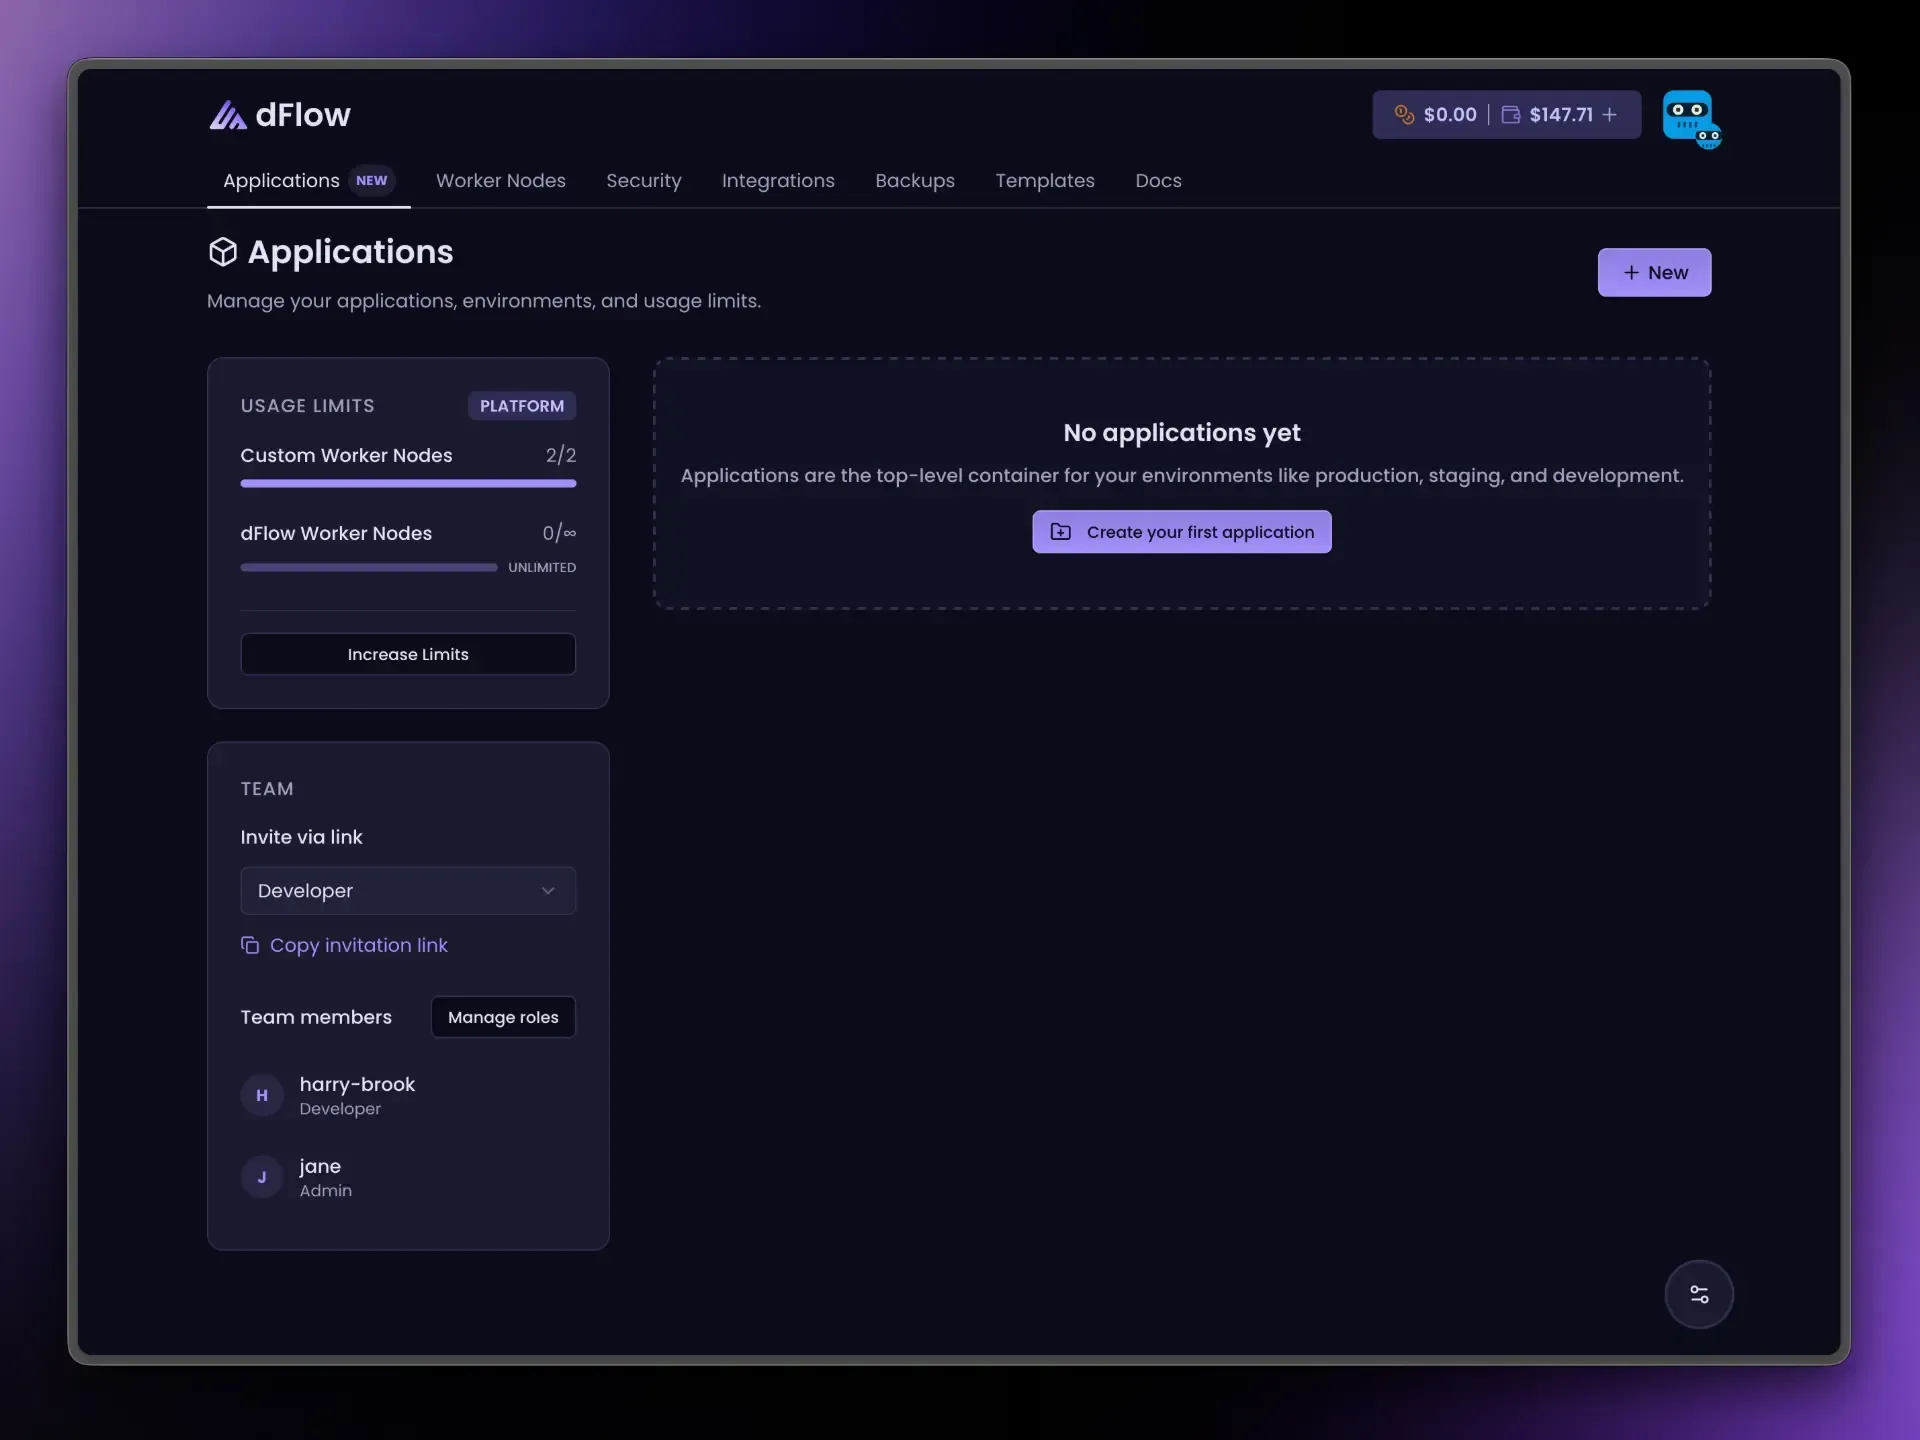
Expected outcome
You are signed in, terms accepted, and you can open the main dashboard for your Organisation.
If something fails
Getting started issues under Troubleshooting in the sidebar
Troubleshooting overview under Troubleshooting in the sidebar
Next steps
First login and dashboard tour for orientation.
Quick start for dFlow Cloud to attach Worker Nodes, create an Application, and deploy.
SSH keys before adding your own servers.